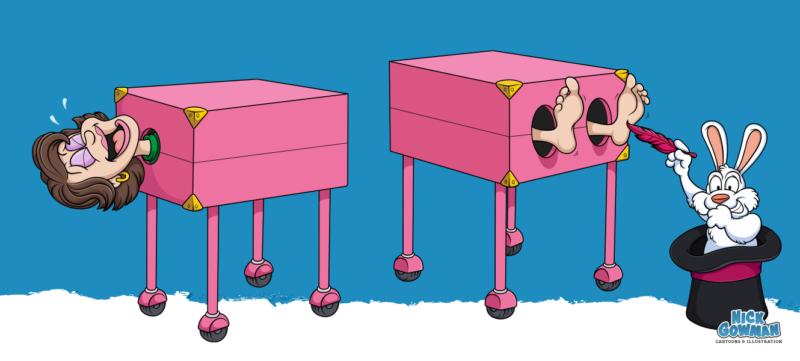
The feet of a cartoon character, very much like their hands, help to add additional details about their personality. Large, square feet could convey a sturdy and strong character, whereas smaller, daintier feet could suggest a lighter and speedier element to your cartoon character design.
I’ve put together this basic guide on how to draw cartoon feet and split it into three different examples – drawing cartoon feet from the front, side and bottom – hope you like them! These guides are split up into step by step segments and use simple shapes to build up your cartoon feet.
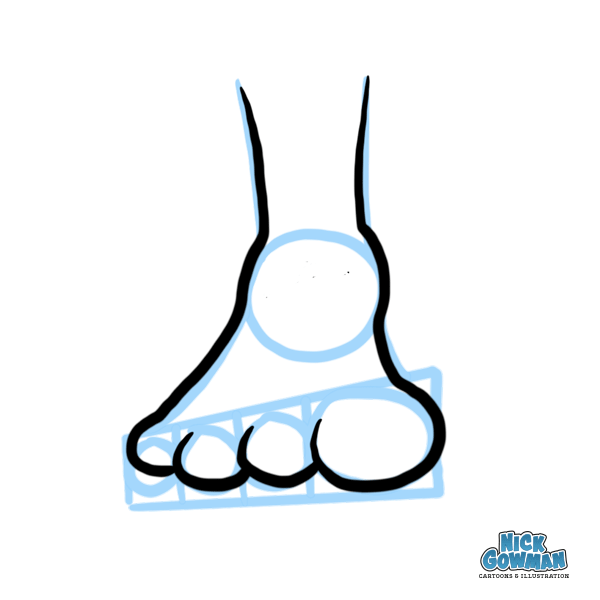
How to draw cartoon feet from the front
Step 1.
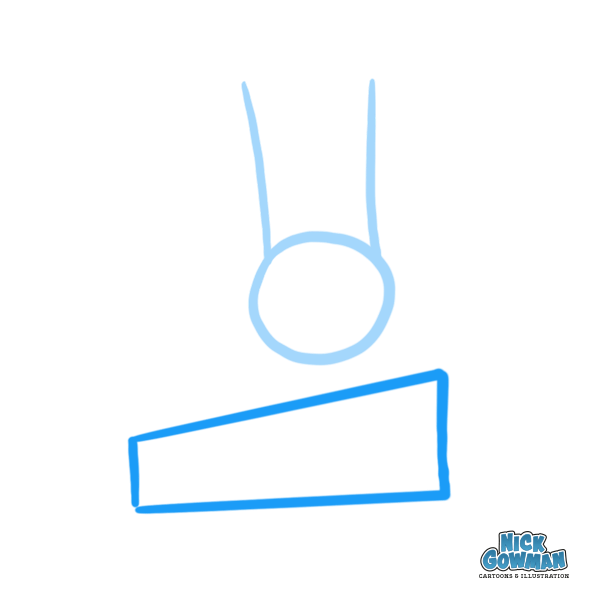
Draw a simple circle at the end of your character’s leg to form the ankle.

Step 2.
Next, draw an oblong shape underneath your ankle that tapers off towards the outside of your character’s foot. This will give a basic framework within which to add the toes.
Step 3.
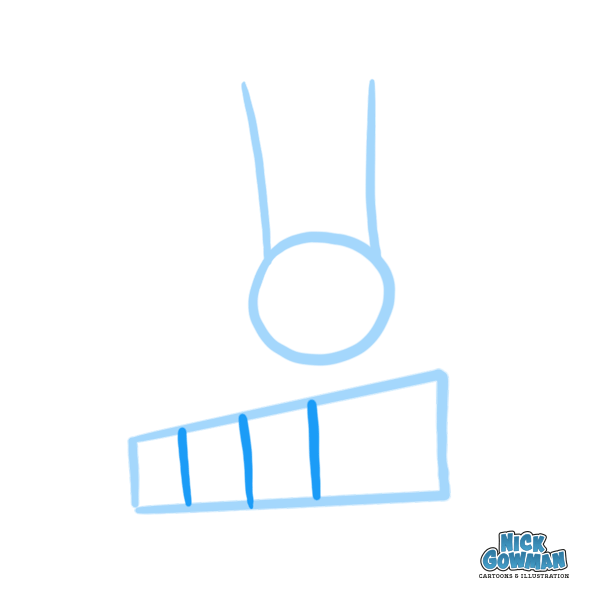
Next, add a vertical line inside the oblong, roughly central with the round ankle shape drawn previously. This will form the area for our big toe. Then draw a series of lines outwards to the edge of the foot.
Step 4.
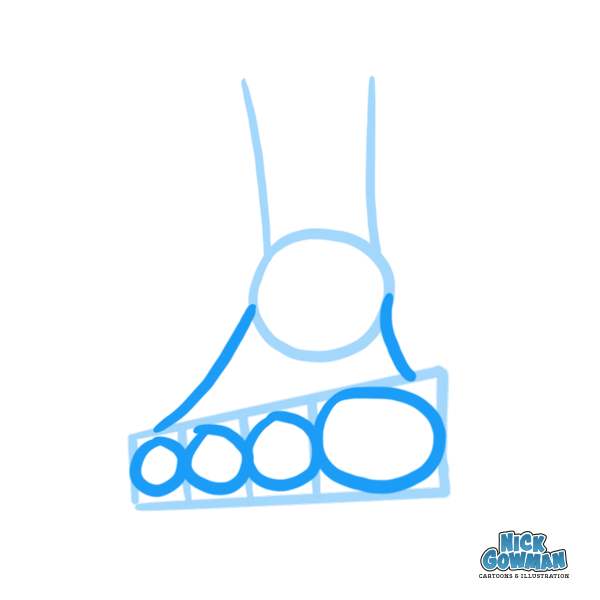
Draw in the toes as a series of ovals or circles inside our ‘boxes’. Remember to connect the toes to the ankle with a couple of slight curves.
Step 5.
Finally, we add a line around the outside of our framework to bring all of those shapes together.
How to draw cartoon feet from the side
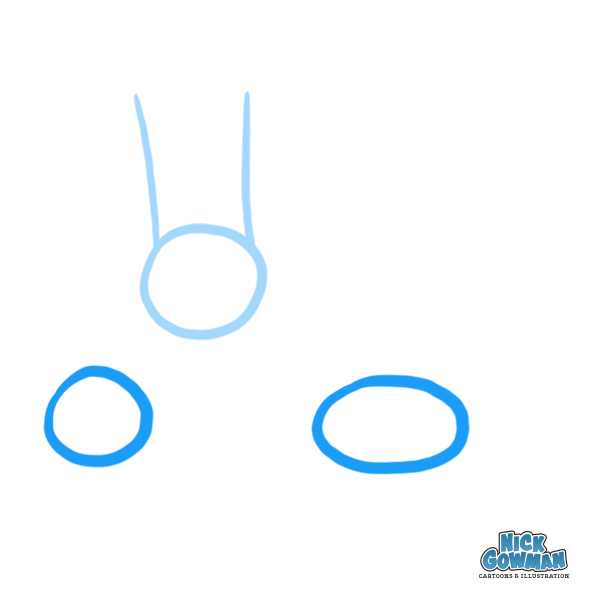
Step 1.
Begin by drawing a simple circle at the end of your cartoon character’s leg.

Step 2.
Next, add in a couple more circles in a triangle shape – one to form the heel and the other to form the ball of the foot. These can vary in placement, depending on how big your character’s feet are going to be.
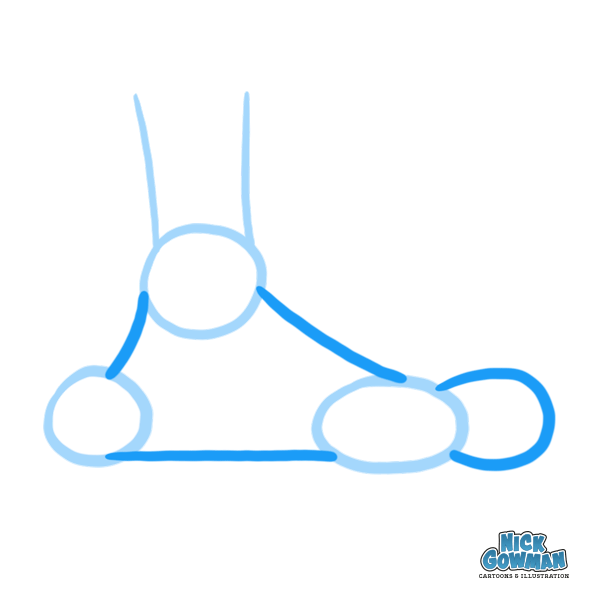
Step 3.
Join up these circle shapes with some very basic curves. Add in a big toe on the end in the form of another simple curve/oval shape.
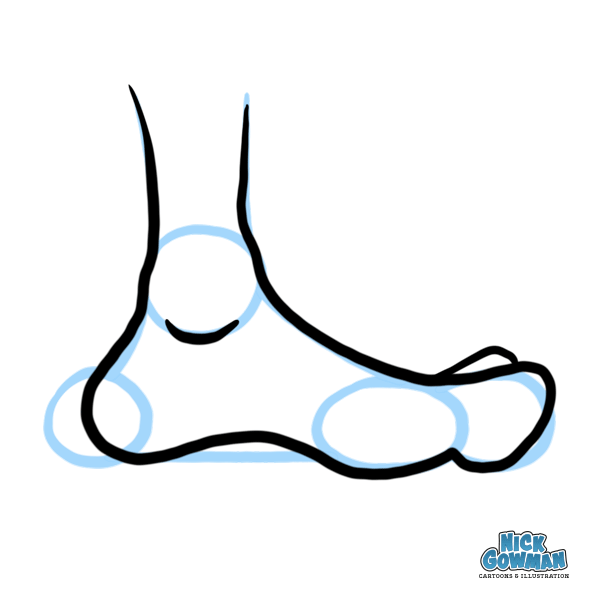
Step 4.
To complete your cartoon foot from the side, simply run one continuous line from the ankle and flow around the outside of our shapes. Be sure to add an insole/arch as you go. Feel free to run the curve as smoothly as you want and use the circles as just a guide.
How to draw cartoon feet from the bottom
Step 1.
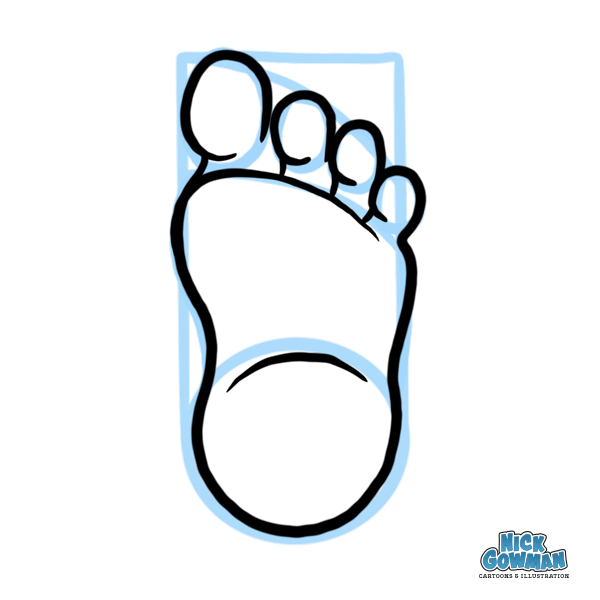
Start with your circle for the heel and add a rectangular box directly above it. Change the width and height of this box to suit the style of your cartoon character design.

Step 2.
Next, add in a simple, smooth curve from the top corner of the rectangle to the other side, making sure you end your line a little lower than the starting point. Add another similar curve in parallel directly underneath.

Step 3.
Now we add in some toes in the form of ovals, using our previously drawn curves as a guide for sizing. Add as many as you wish – I usually only add four toes to my cartoon characters, as these are quicker and easier to draw when animating. You can also add in an instep by applying a simple ‘S’ shape curve underneath the big toe.
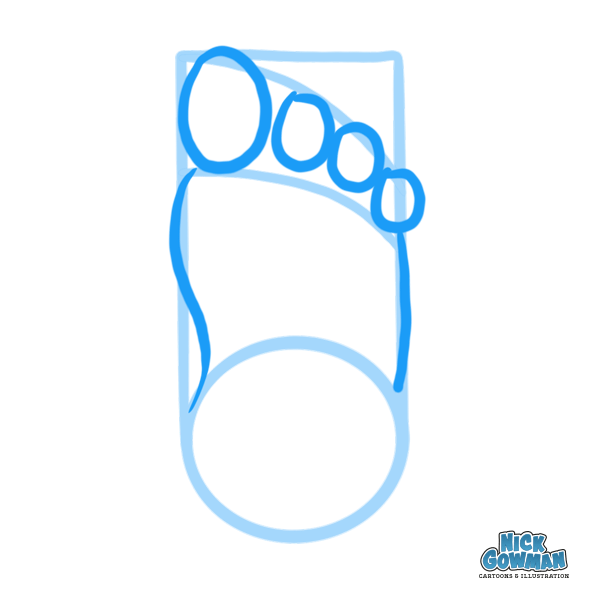
Step 4.
The final step is to add in some final outlines over the shapes we’ve drawn. When adding the outline to the toes, create a ‘C’ shape to add depth and then join up the lines underneath. You can also define the ball of the foot and the heel with a simple curve line.
